










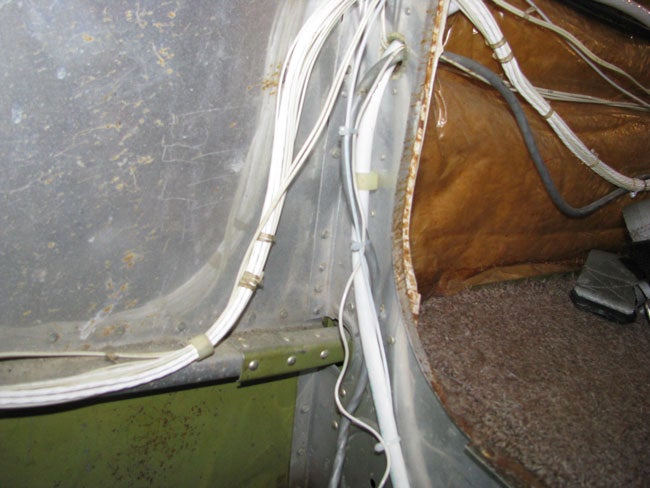
Photo Gallery: Replacing Your Battery Cables
A step-by-step look at replacing aircraft battery cables

Key Takeaways:
- The article visually documents the comprehensive process of replacing aircraft battery cables, showing connections from the engine to the battery box, including the starter and master solenoids.
- It emphasizes critical best practices during such maintenance, including meticulous cable routing, securing cables to prevent damage, inspecting for corrosion, and thoroughly documenting the work with photographs.
- During the cable replacement, the author also performed additional maintenance tasks, such as replacing undersized cables, removing unnecessary power taps, and rectifying loose electrical connections.
See a mistake? Contact us.