
Photo Gallery: Replacing Your Battery Cables
A step-by-step look at replacing aircraft battery cables
Key Takeaways:
- The article illustrates the step-by-step process of replacing battery cables in an aircraft, showcasing various components like the engine, starter solenoid, and master solenoid.
- It highlights the importance of proper cable routing throughout the cockpit and fuselage, recommending inspections for corrosion along the way.
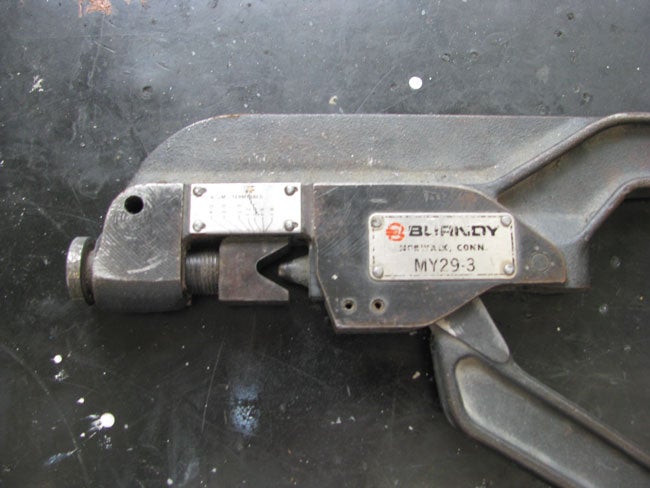
- The process involves using specialized tools, such as a heavy-duty crimping tool, for secure connections.
- During the replacement, additional maintenance opportunities arose, leading to the discovery and correction of issues like loose connections and unnecessary power taps.
See a mistake? Contact us.