Best Camera Gear for Flight Instructors Recording Lessons
The right photo equipment gives CFIs an effective way to enhance lessons and add value to the student experience.
A miniature action camera such as this Insta360 GO can be mounted discreetly for minimal distraction. [Photo by Kaylee Nix | Plane & Pilot]
In the fast-paced flight training environment, student pilots absorb a lot of information during each lesson.
Balancing tasks while taking in instruction can make it difficult to recall specific details on the ground. To address this, many instructors now use camera and audio gear to record flight lessons.
With a simple setup before takeoff, a CFI can use a camera to record flight lessons for an accurate, thorough debrief. This allows instructors to review maneuvers, monitor performance, and identify areas that need improvement. Watching back a lesson also gives the student a chance to see their progress and learn from their own performance.
As a professional flight instructor, flying with camera gear gives you a way to enhance each lesson and add value to your client experience. Whether you’re new to flying with a camera or looking to upgrade, this guide covers the top camera gear for recording flight lessons and enhancing flight training.
Essential Camera Features
The best camera for flight instruction should have a few key features. By prioritizing these functions, you’ll be able to set up the camera and forget it. With the right gear, your focus stays on the lesson, ensuring a distraction-free flight.
Compact size
Most training aircraft are limited on cabin space, so a small, discreet camera is ideal. Larger DSLR cameras and lenses can be bulky and heavy, which makes them more distracting and more difficult to mount in the cockpit. Action cameras and even cell phones are great space-saving alternatives to traditional digital cameras.
Zoom capability
The ability to zoom in on a particular area of the cockpit can create more dynamic lesson footage. Capture close-up shots of the instrument panel, or film the outside view of a maneuver from over the student’s shoulder.
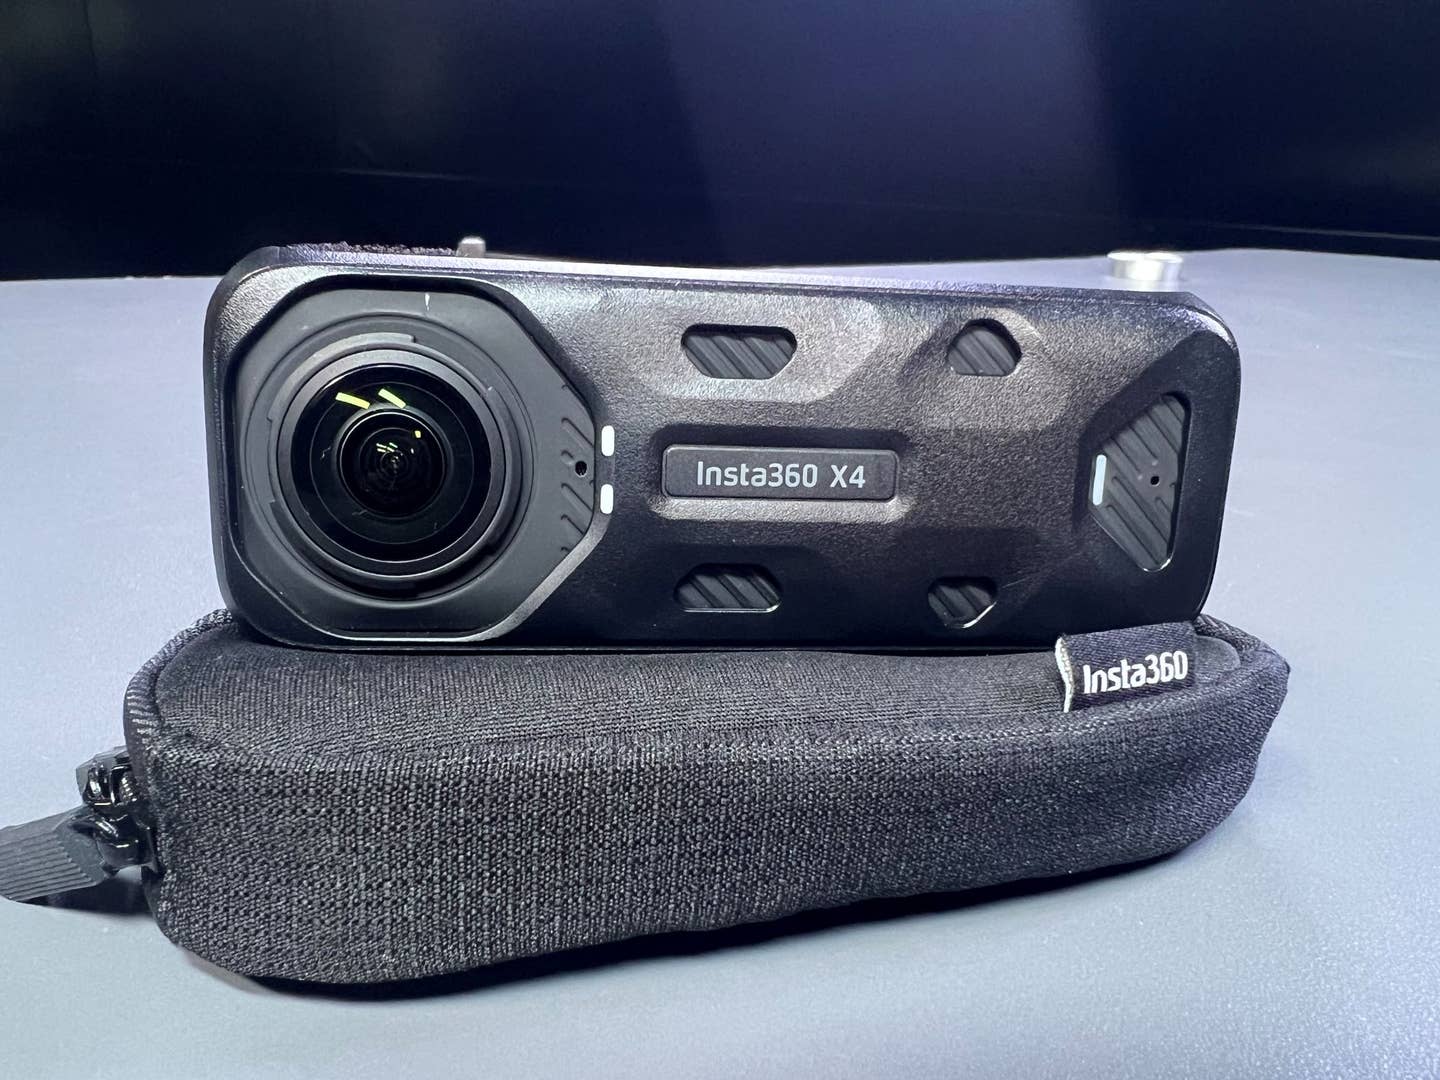
Zooming in or out on a frame can be achieved by setting a particular view before takeoff. Zoom can also be done in post-processing with omnidirectional cameras like the Insta360 X4. An omnidirectional camera captures a simultaneous 360-degree view, making it easy to pan around an entire scene and watch back footage from multiple angles.
Weatherproofing
A camera intended for use in the cockpit needs to be able to stand up to some wear and tear. Weatherproofing protects your gear from wind, rain, and temperature changes. It increases general durability so you can spend less time worrying about your equipment and keep your focus on the flight lesson.
Stability
Image stabilization makes all the difference for a smooth, clear picture. Motion and vibration from the airplane can cause camera shake, distorting and blurring the image. Many newer cameras have built-in stability features, especially action cameras which are created specifically for high-motion scenarios. A good stabilizing mount can also support picture quality when using a phone or camera that doesn’t have motion-reduction features.
Recommended Camera Types
When choosing the best camera gear for flight instruction, it’s important to consider different types of cameras based on your specific needs.
Smartphone cameras
Let’s start with the most convenient and accessible option: your smartphone. Modern phones are nearly as capable as digital cameras for capturing high-quality images, while also being lightweight, compact, and affordable. With stabilizing mounts available to reduce image shake, smartphones can be an effective tool for recording in-flight video.
However, there are some limitations to consider. Once your phone is set up to film, it may be difficult to access if you need it for other tasks. In the event of an inflight emergency, having your phone available could become crucial for contacting ground facilities or aiding in navigation. Even if the phone was easily accessible, continuous filming will drain the battery and consume valuable storage space.
By preparing with a backup battery, extra storage, or even a second phone, smartphones can still be a practical and accessible solution for recording flight lessons.
- Best Android smartphone for video: Google Pixel 9 Pro
- Best iOS smartphone for video: Apple iPhone 16 Pro
Action cameras
Action cameras are designed to capture high-intensity motion with exceptional clarity. Favored among athletes, travelers, and outdoor enthusiasts, action cameras are compact, durable, and highly versatile, making them ideal for flight instruction. Leading brands such as GoPro, DJI, and Insta360 continue to innovate in the technology and sports industries, delivering high-quality video that’s increasingly accessible and affordable.
For flight training, action cameras offer a number of benefits. Their size and durability make them easy to carry in a flight bag and mount in tight cockpit spaces. They’re built to withstand the demands of flight training like turbulence, varying temperatures, and environmental factors like dust or rain.
While action cameras are great for capturing wide-angle footage, their fixed lens and limited zoom capabilities may not capture the most detailed close-ups. Editing software can refine the footage for the most important angles and shots, though it may involve a learning curve. With proper setup and practice, action cameras are a valuable addition to any CFI's training toolkit.
- Best for 360-degree filming: Insta360 X4
- Best bang for your buck: DJI Osmo Action 4
- Best simple setup: GoPro Hero12
DSLR or mirrorless cameras
For professional-level cinematic footage in the airplane, you may consider a classic digital camera.
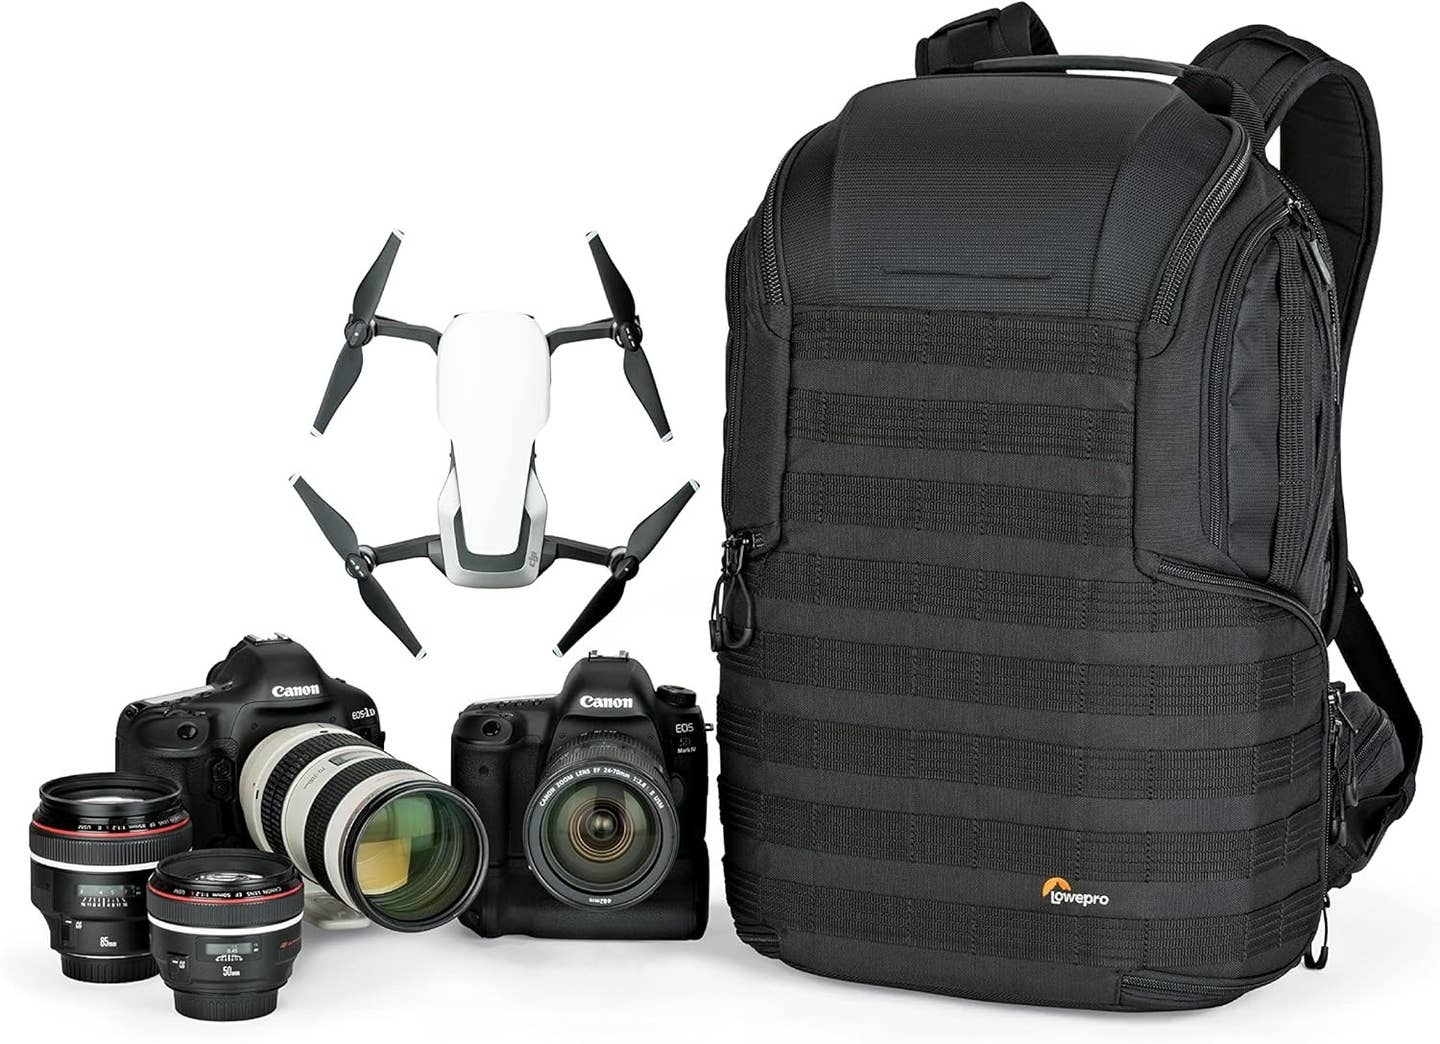
While the DSLR (digital single-lens reflex) camera is widely loved for photography, it’s a less popular choice for recording flight instruction. They tend to be significantly larger and heavier than other options on the market and costs can range much higher.
Mirrorless cameras deliver similar results to a traditional DSLR, but their design makes them lighter and more compact. While DSLR cameras house actual mirrors inside, mirrorless cameras use digital sensors to capture visual information.
If you do decide to invest in a DSLR or mirrorless camera, keep in mind that lenses are usually sold separately. For use in a tight space like a cockpit, you’ll want a wide angle lens. Either a fixed lens or a zoom lens will work, as long as it is capable of a focal length of at least 16-18 millimeters. Lenses above 35 mm may limit the field of view, making it difficult to capture the full cockpit.
- Best compact vlogging camera: Sony ZV1 II
- Best overall entry-level camera: Canon EOS R50
Camera Accessories for Flight Instructors
The right camera is only part of the equation for a great in-flight recording setup. Accessories can make all the difference in capturing smooth, clear footage. From securing your camera to recording audio, the right add-ons will help you make the most of your gear.
Mounts and brackets
In Part 91 operations, cockpit recording is permitted as long as it doesn’t compromise safety. When selecting a mounting location for your camera, it’s critical to avoid any potential obstructions or distractions that could interfere with the flight.
To capture the most useful footage, aim for a view that includes both the instrument panel and a partial view outside the aircraft. Rear windows or the ceiling are great for mounting cameras because they provide a broad perspective without being in the way. If you’re using a 360-degree camera, you may have more flexibility in positioning. A miniature action camera like the Insta360 GO can be mounted discreetly for minimal distraction while still capturing a wide view.
Once you’ve determined the best location, the next step is selecting the right mount. For a secure attachment on a window, a stabilized suction mount works best for solid attachment and clean removal. If you’re mounting on the ceiling or a textured surface, an adhesive mount is a more reliable option.
- Best Insta360-compatible mount: Insta360 Suction Cup Mount
- Best GoPro-compatible mount: GoPro Official Suction Cup Mount
Mounting cameras outside the airplane
Mounting a camera outside an aircraft requires careful planning and additional legal considerations compared to internal mounts. External mounts that are considered “major alterations” need an aircraft mechanic’s approval to ensure they are installed correctly and comply with regulations. A temporary mount is typically considered a minor alteration and doesn’t require an A&P signature. If you’re unsure whether your camera mount is considered a major or minor alteration, consult your A&P.
Proper placement is especially crucial for an exterior mount. Cameras should be positioned to avoid prop wash, which can cause image shake or even cause a camera to fall off. They should also be in a location that minimizes risk if the camera becomes detached mid-flight.
While external camera mounts can provide interesting views and dynamic angles, they may not be necessary for most flight instructors. Internal mounts facing the instrument panel offer more practical information for the learner to review. Unless you’re aiming for creative shots or working on a specific project, an internal setup is typically the better choice for daily flight instruction.
- Best strut mount: NFlightCam Strut Clamp Mount
- Best tie down ring mount: MyPilotPro Swivel Mount for GoPro
Audio
Your in-flight camera setup is not complete without audio equipment. Capturing real-time radio communications and discussion between CFI and learner is crucial for understanding the full scope of events during the flight.
Since training aircraft cockpits are notoriously noisy, standard camera microphones can’t capture clear audio in the airplane unassisted. The most straightforward solution is to use an audio adapter that connects your headset directly to the camera. Headset audio adapters are able to pick up all headset audio, including ATC communications. By connecting the adapter to your camera, sound recording will automatically sync with the video.
- Best headset audio cable: NFlightCam Aircraft Audio Recording Cable
Review and Feedback
After the flight is complete, you can review the raw footage as-is with your student, or you may choose to edit it down and share key moments with them later. You may find a mix of review techniques to be most effective. Try not to wait too long between recording the flight and sharing the footage with the student. The sooner they can review the lesson, the better they will recall the actual flight and retain information gleaned from the video.
Encourage the learner to lead the discussion before giving your own notes and critique. Ask what stood out to them, and if they noticed anything that seemed different from how they remember the flight. After they've shared their thoughts, you can provide your own feedback, helping them connect their experiences with your expert analysis. This method will help you both get the most out of the recording by promoting self-assessment and critical thinking. It also allows students to engage more deeply with their learning and gain new insights from watching the footage.
Tips for Effective Camera Use
Adding camera gear to your flight instruction routine can add a lot of value for both instructor and student. When used effectively, flight lesson recordings are a way to review what was taught, evaluate performance, and extract further value from past lessons. By seeing their own flight play out from an outside perspective, pilots can more clearly identify what went well and what could be improved.
Safety remains the top priority, regardless of the tools or gear you choose to use in your instruction. Ensure your camera setup doesn’t interfere with controls, obstruct the outside view, or distract you or your student. If you notice your student is nervous or performing differently as a result of the camera, turn it off. Lesson recordings will not be a value add to your student if they are distracting from the most important task at hand—flying the airplane.
FAQ
What camera equipment can you bring on a plane?
Camera equipment can be used on board an aircraft under Part 91 rules as long as it doesn’t interfere with the flight. Compact, lightweight camera gear is best for filming on an airplane.
What is the best camera setting for flying aircraft?
For the amateur videographer who is flying with a camera, the best camera setting is auto. Setting your camera to auto allows it to self-adjust as needed without any outside intervention so you can focus on the flight.
What is the best camera gear for flight instructors?
The best camera gear for flight instructors is a small, durable camera like a GoPro, Insta360, or DJI action camera. Pair it with a simple mount and audio cable for a great basic in-flight recording setup.
Subscribe to Our Newsletter
Get the latest Plane & Pilot Magazine stories delivered directly to your inbox

