 |
The first time I ever engaged an autopilot, it did something completely unexpected, and I quickly turned it back off. My checkout in the plane had covered just about everything---except the autopilot, so I was left on my own to figure it out. Since then, I've found that many pilots have had a similar experience when it comes to auto-pilot training. Even in more advanced training programs, questions and misperceptions abound.
There are times when knowing how to use an autopilot (AP) can save your life, and there are other times when it can kill you---particularly if you don't know what you're doing. Remember, an autopilot doesn't necessarily do what you want it to do: It does what you tell it to do.
So, let's review some of the basics of autopilot operations---components, basic functions, and a few important do's and don'ts. One warning: There are probably as many autopilot models as there are airplanes, so it will be hard to describe the exact operation of your particular autopilot in your airplane with your avionics. It's your responsibility to carefully review the Pilot Operating Handbook and AP manuals for your airplane to understand how your particular system works and its limitations. This is a big subject, so we'll only look at some of the more common functions that you might find in GA aircraft.
Components Of The Autopilot
All autopilots rely on a device that can sense orientation regardless of acceleration or gravity loads. The first autopilot was invented in 1909 by Elmer Sperry, who used a spinning gyroscope that has been in widespread use up until about 10 years ago. Today, modern GA systems are based on AHRS (attitude heading and reference system) technology that incorporates miniature vibrating MEMs components to sense orientation. Interestingly, physicists can't easily explain why spinning or vibrating components try to maintain a fixed orientation relative to the distant stars, so we'll just have to accept it as a useful fact that helps us navigate. A controller uses the signal from the attitude sensor to manage a feedback loop that drives servomotors attached to the aircraft control surfaces to achieve the desired flight attitude. Although older analog autopilot controllers work well, newer digital controllers have improved performance and expanded capabilities. A simple wing leveler might control only the ailerons, while a more sophisticated three-axis system controls the elevator and rudder, as well.
 |
Most autopilots include some or all of the following components: a control unit (sometimes called the AFCS for auto-flight control system); an interface to a navigation system such as an FMS (flight management system); VOR receiver or a GPS navigator, which normally runs through a directional gyro (or a HSI---horizontal situation indicator) and various special-use switches and indicators. The switches may include a big red disconnect button on the control yoke (or stick), an electric trim controller, a control wheel steering (CWS) button on the yoke and possibly a go-around (GA) button. You may or may not have all of this stuff in your airplane, but we'll briefly review each feature so that you'll be prepared the next time you encounter something new.
Flight Director. This is a feature that has become more common with the advent of glass. The FD is displayed on the attitude indicator and can take on different forms---most commonly a set of triangular command bars. One bar shows the attitude of the aircraft, and the other bar moves to show the autopilot command attitude. By programing the AP, engaging the flight director and following the command bars, any pilot can hand fly, as well as the autopilot.
 |
Roll Steering. A simple autopilot system is "reactive," so that turns begin after passing a waypoint with oscillations about the new course until errors "damp out," which may never happen in strong crosswinds. Also called GPSS (for GPS steering), roll steering fixes these problems by using data from the GPS navigator to provide predictive control, so that turns and wind correction are anticipated. Multileg flight plans are followed precisely regardless of the winds, and even hold patterns can be flown perfectly. Roll steering greatly improves the accuracy and smoothness of any AP system.
Lateral Navigation Modes
Here's how AP functions work to get from point A to B on the map.
Roll Mode. When you first engage many autopilots and you don't tell it where to go, it will wake up in "roll mode." In its simplest form, roll mode simply holds the wings level, which is the basis of a simple wing leveler. In more sophisticated systems, roll mode can also hold a constant bank angle (or turn rate depending on how the system is configured). Most APs don't have a specific button for roll mode and will simply revert to this mode when all other navigation modes are canceled. Note that some popular systems can only be engaged in either heading or navigation mode, so there's no "roll mode."
HDG. Heading mode commands the AP to follow the heading bug on the DG or HSI. It's pretty simple---turn the bug in the direction you want to go, and the plane will follow the bug and hold the heading. It's best practice to always "sync" the bug to your current heading before engaging HDG mode. Once the AP is properly engaged, then turn the bug to your desired heading. There are often limits on how closely the heading bug must be to the current heading before the AP will turn to follow the bug, although some systems will allow a range of +/- 179 degrees and more if you engage and then move the bug past 180 degrees. Engaging HDG mode without first synching the bug can result in a surprising and sometimes dangerous turn, so make it a habit to always keep your bug synched to your current heading.
NAV. In simple terms, this mode tells the AP to follow a navigation signal whether it's from a VOR, ILS or GPS. Every AP has built-in rules and limits for acquiring the desired course. In the simplest case, activating a direct course to your next waypoint when you're roughly pointed in the right direction will allow NAV mode to keep the aircraft on the desired track to the next waypoint.
Be aware that simply pressing "Direct To" on your GPS and then "NAV" may initiate an immediate turn toward the next waypoint, so make sure that there's nothing in the way when you press the button. If you're transitioning from HDG to NAV mode, the AP logic will simply "arm" NAV mode (often indicated by a blinking or different-colored indicator) until you're close enough to an active navigation leg to allow the course to be intercepted.
Once intercepted, the NAV mode will go "active," and the NAV annunciator will come on. One "gotcha" to remember is that if you're in NAV mode and you "activate an approach" on a Garmin navigator, the autopilot will command an immediate turn to the initial approach fix---even if it happens to be behind you. That unexpected turn can steer the aircraft into terrain. Be sure you know what the autopilot is going to do before you change anything, monitor it closely, and disconnect it immediately if it doesn't do what you expect it to do.
APC. Approach mode is basically a more sensitive version of NAV mode with a couple of additional features. When you're flying an ILS, APC mode increases the sensitivity of the system so that the course is held more precisely. APC mode also arms glideslope tracking. When flying a GPS approach, the GPS typically controls the course sensitivity, so APC mode simply arms Glide Path tracking (for WAAS-based systems). In order to avoid major turns while on approach, most systems normally impose angular intercept limits (typically around 45 degrees), to intercept a course using APC mode. APC mode normally has the lowest approved altitude limitations---typically 200 feet AGL for Cat I approaches (for virtually all GA aircraft).
BC/REV. Back-course or reverse sensing is used to fly an approach using the back-course signal of an ILS. In most systems, this switch simply sets up reverse sensing so that you can set your HSI to the inbound course, and the autopilot can track the reversed navigation signal. Back-course setup and operation often varies considerably between systems, so be sure to check your manuals.
 |
Vertical Navigation Modes
Many AP systems allow flight control in the vertical direction, so let's look at how those modes work.
Pitch Mode. Holding a constant pitch angle is the "wake-up" mode when engaging many autopilots. Most AP systems will engage to hold the current pitch angle shown on the AI, so if you're level, that's what will be held. The pitch angle is normally adjustable through a preset range---typically about +/- 10-15 degrees. Most systems revert to pitch mode when altitude hold or vertical descent modes are canceled. Some simple systems are set to simply hold a level pitch angle. Pitch mode is generally a safe option for climbing because it's unlikely to cause a stall.
ALT. Altitude hold mode does what it says---holding the current altitude shown on the altimeter. Altitude hold goes active on systems with altitude capture capability when the altitude is the same as set on the altitude preselect controller. Most altitude hold systems have a safety G-switch to release the autopilot in rough air. Autopilot disconnect is usually signaled by a blinking light and an audible warning. A few systems also include a switch that determines how hard the autopilot will try to hold altitude in turbulence. This kind of switch might be labeled "soft ride" (e.g., King KFC 275 and 325 systems).
VS. Vertical Speed mode tells the AP to hold a preselected vertical speed. In systems with altitude capture, the vertical speed will be held until reaching the altitude set and armed on the altitude pre-selector panel. There are normally upper and lower limits on what VS values you can select. Great care is needed when using VS mode to make a long climb since it's possible to run out of climb capability at higher altitudes where a stall can occur (IAS, FLC, or Pitch modes are preferred).
VNV. Vertical Navigation mode commands the autopilot to follow a descent profile generated by an FMS (flight management system) or GPS navigator. Although most systems work only for a descent, some more capable systems allow both climb and decent profiles to be followed.
GS. Glideslope mode allows the aircraft to track a glideslope beacon or glide path (GP) signal---most commonly from a WAAS navigator. All systems have rules about capturing the GS/GP signal and most require that the signal be captured from below, while in ALT mode. If you are vectored onto an approach above the GS (or GP), you must descend to a point below the GS/GP and then level off to capture the signal. Make sure that the GS light goes "active" as you capture the glideslope. There's something seriously wrong if you're descending below the GS without an active GS indication. Know the rules for your system and practice operations in good weather before you head into the clag.
Other Common Modes
Not all airplanes have these features, but here are a few additional capabilities found on more advanced systems.
 |
IAS. Indicated airspeed hold mode tells the autopilot to adjust pitch to hold the current indicated airspeed. In many systems, the pitch up/down control switch will allow target IAS to be changed. For a climb, select the proper speed and set climb power with the throttle. To descend, disengage altitude hold, trim for a descent, pull the power back and as the aircraft reaches the desired speed, engage IAS. Power can then be used to control the descent rate. IAS is particularly useful for making a climb.
FLC. Flight Level Change mode is a "smart" version of IAS mode. Its primary goal is to hold IAS; however, during a climb, the system will also try to hold altitude (up to a limit) while keeping airspeeds within limits. This is particularly useful when making a climb through thin air, where IAS may decrease considerably during the climb, or when turbulence may induce a sink. In the airline world, FLC mode may also be linked to auto-throttle systems to help manage airspeed.
CWS. Control wheel steering is activated by a push button on the yoke that temporarily disconnect the AP for as long as the button is pushed. In many systems, CWS also synchronizes the FD to the current flight attitude, although the behavior will depend on the current navigation mode, so check your manual.
GA. Go-Around mode disconnects the autopilot and displays a wing's level, preselected climb attitude on the flight director bars to help maintain situational awareness while hand flying during a missed approach. Once an acceptable altitude is reached, the AP can be re-engaged. Remember that, in a pinch, the GA button is another way to disconnect the autopilot.
YD. If you have it, the YD button toggles yaw damping on and off. Most AP systems come on line with the YD engaged. Some YD systems are very simple and just hold the rudder at its current position while actively damping yaw excursions. In these systems, the pilot must first set rudder trim for zero slip and then engage the yaw damper. More sophisticated systems will actively center the ball for zero slip and damp bumps in yaw.
Some Basic Do's and Don'ts
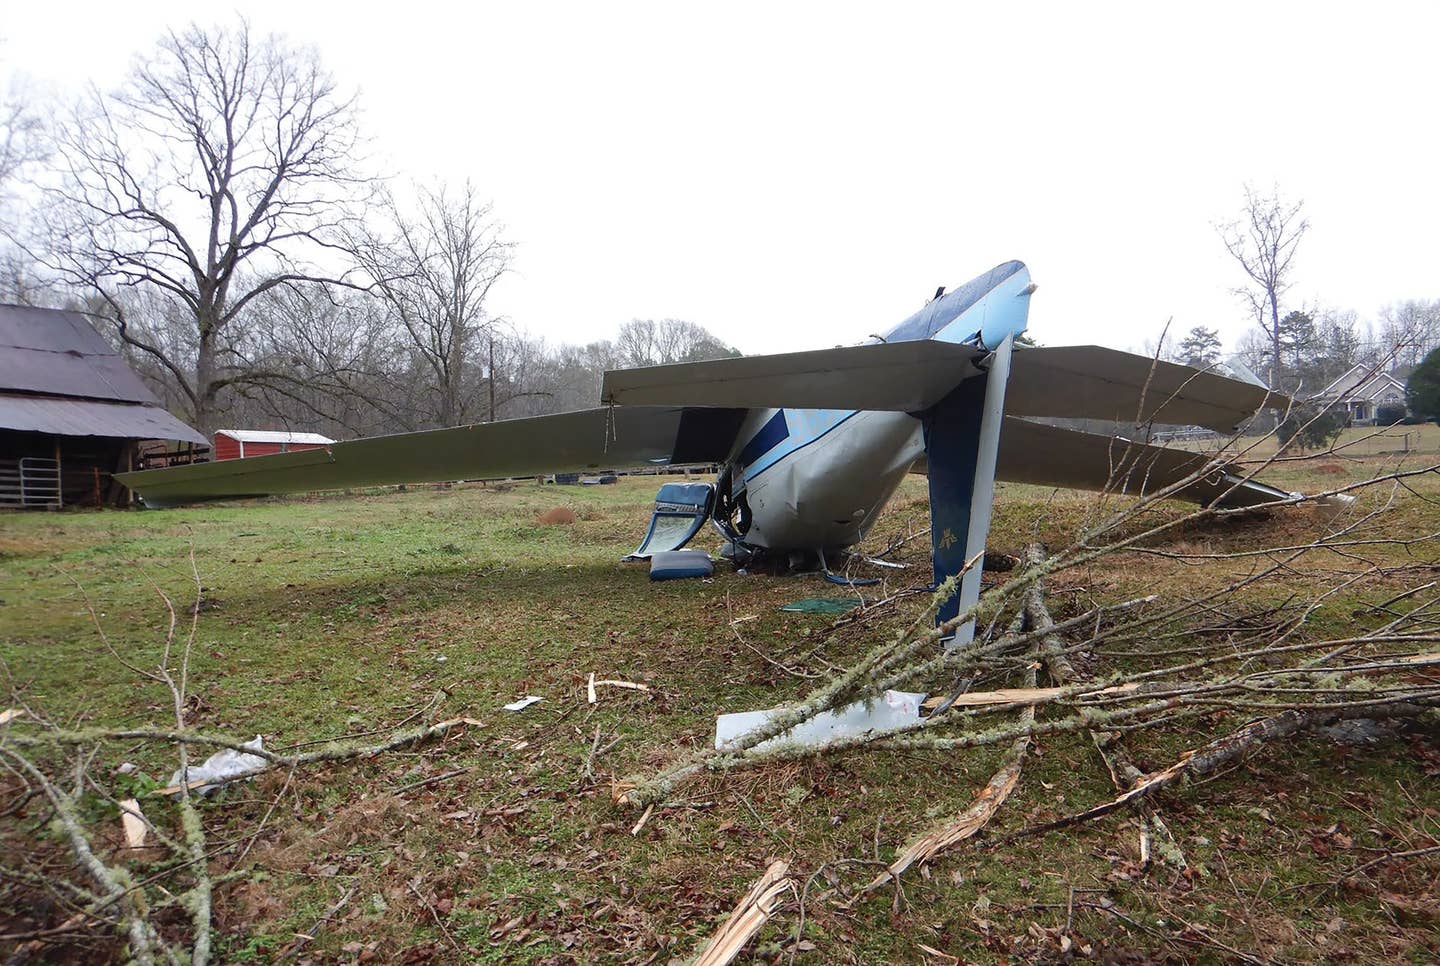
First, don't ever try to manually overpower any autopilot when it's connected. Fighting the yoke with the AP engaged can cause the system to react by running the pitch trim in the opposite direction, and even though the AP is connected to the control system through a clutch so that it can (in principle) be overpowered, the force needed to control the aircraft in a completely out-of-trim situation can be completely overwhelming. Try it in a simulator, and you'll quickly understand how difficult it is to safely operate the aircraft with 30, or more, pounds of force pulling on the yoke. NTSB records show that many folks who ignore this rule leave a smoking hole in the ground, so don't do it. If something goes wrong or you don't like what the AP is doing, disconnect it---never fight it.
Do know how to quickly disconnect your autopilot. Most airplanes have at least four or five ways to disconnect the AP. The main AP power switch, the big red button on the yoke, the electric trim switch, the CWS button, AFC or servo circuit breakers, the GA button, emergency bus switches, or even the master switch are all possible ways to disconnect AFCS systems. Study your system and put colored caps on your CBs, so that you can quickly find the important ones. Some of these options may disable electric trim (if you have it), so understand when you have to revert to manual trim. If you want to hand fly, bumping the electric pitch trim switch disconnects the AP on most systems while leaving the flight director active.
Do get knowledgeable instruction, review your manuals, observe all limitations and practice operations in safe conditions. Practicing each function will provide a solid understanding of how to properly arm altitudes and how your system behaves on an approach.
You should understand the preflight tests and carefully monitor the system while it's being tested. Do you know how many times the test light blinks and how many audible beeps your autopilot emits when the preflight tests are successfully completed? Checking the trim switches and the disconnect button on each yoke is also important. Finally, every autopilot system has operating limitations that you should know and observe. These limitations generally apply to minimum operating altitudes and aircraft configurations allowed during different phases of flight. Make sure you know what they are.
Finally, and this is a big one, do use a standard procedure that you've practiced for operating your autopilot on a missed approach. Going missed at minimums means you are suddenly flying by hand, while changing the aircraft configuration and the last thing you want to do is to fixate on figuring out how to program and fly the procedure while you are zero-zero near the ground.
It can be stressful and there have been way too many pilots who lose control during a missed approach while trying to get their navigator reconfigured and the autopilot re-engaged. Simulator training is an excellent way to train for missed approach procedures under a variety of circumstances. Having a solid, well-practiced procedure makes it easy.
Taking the time to understand your autopilot, to develop standard operat-ing procedures and to practice can help prevent task saturation and improve safety margins. When things get stressful, your autopilot just might be your best friend.
John Hayes is typed in the Citation Mustang and is an ATP, CFI, MEI and CFII with more than 4,300 hours in numerous airplanes. A founder and past president of TBMOPA and the Citation Jet Pilots, he also enjoys flying aerobatics in an Extra 300L.
Subscribe to Our Newsletter
Get the latest Plane & Pilot Magazine stories delivered directly to your inbox

